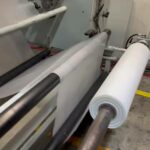
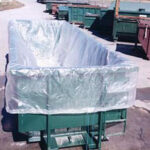
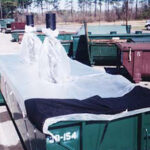
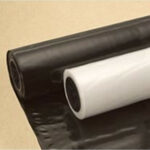
Step 1
Standing at the centerline of the outside end of the container, place the roll on the top edge of the container allowing approx. 1′ to hang loose down the outside end wall. Push the roll into the container allowing the liner to roll down the inside end wall and across the bottom of the container to the other end.
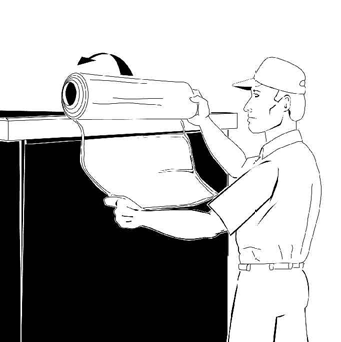
Step 2
Unfold the liner so that the center slit of the liner is on the centerline of the end wall. Do not tear the end seam. From the center slit, take the top layer of the liner and secure it over the corner of the container. Note: you will need to pull material towards you from the sidewall of the liner in order to do this without tearing the end seam.
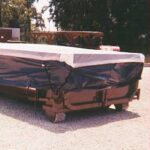
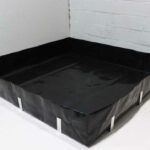
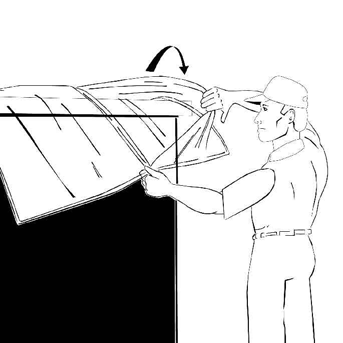
Step 3
With the top layer now secured over the corner, continue down the side of the container pulling the top layer out and over the sidewall. Continue this procedure around the entire perimeter of the container.
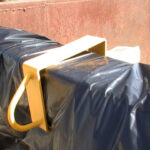
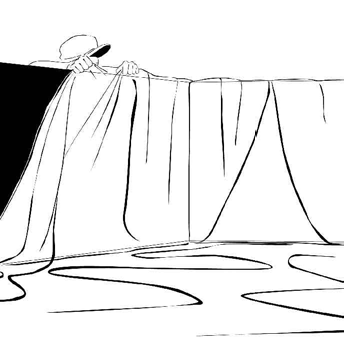
Step 4
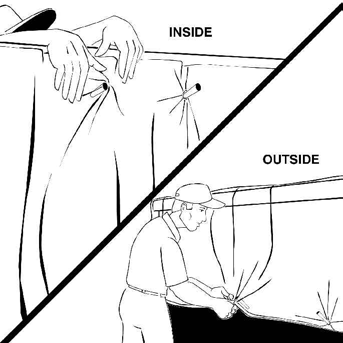
Hooks on the outside or inside may secure the liner, depending on the container design or job specifications.